Before we begin this DIY, I want to say two things:
- I am terrible at remembering how to remove difficult stains without having to go buy specialty stain remover which would take longer and allow the stain to set longer
- My husband and parents are right...I really can not go anywhere to eat (home included) without seeming to get something on me. I'm beginning to realize this is just my reality...
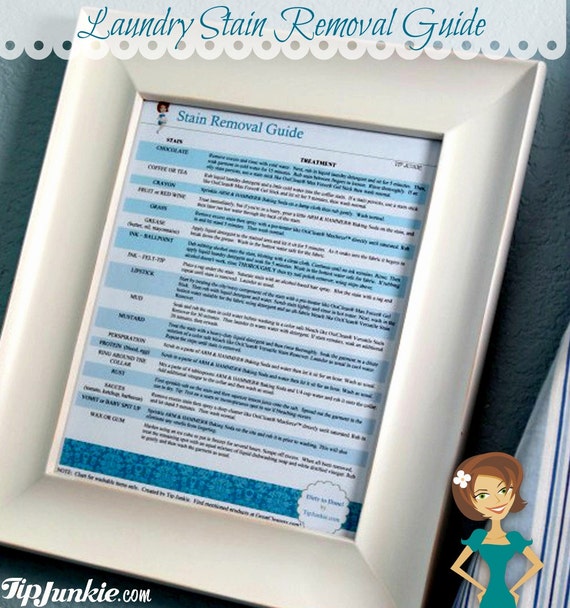
So because of my constant staining problem and having a 3 year old who is just slightly worse than me about getting things on her clothes, I decided what a better idea then to print off a stain removal guide and hang it up in the laundry room for a quick and easy reference!
I began my search for stain removal guides on Pinterest and found this amazing printable for l$1.95 on Etsy! Everything is already prepped for you and ready to go on the guide (which would have been the hard part of this process) and for me the colors of white and turquoise were perfect for our laundry room. You simply just purchase the printable and within minutes (while waiting on the payment to be processed) you can download and print the guide.
Click on the picture below to head over to Tip Junkie's Etsy shop to purchase and download the guide!
To begin you will need to gather your supplies which contain:
NOTE: The frame I used is from Hobby Lobby (found HERE) and was only $5 but right now Hobby Lobby has all of their wall frames on sell for 50% off so that makes it only $2.50! I love the simplistic natural wood look of it though so it was perfect for what I wanted. Please choose a frame that you love though, just make sure it's an 8x10.
Next, you need to obviously remove the backing and paper insert from the frame and use the paper insert to trace around the outside edges of the paper because the frame is 8x10 and the paper is 8.5x11 like below.
Then, you just trim along the line with your scissors to cut off the excess paper.
Next, you place the trimmed guide into the frame on top of the glass and place the paper insert on top of the guide backwards. This step could be skipped if you printed the guide onto white cardstock instead of copy paper. I do this because the copy paper is thin and the cardboard backing underneath gave the paper an off white look. Make sure the insert is backwards like the picture below or you will see the printed picture through the guide.
Replace the cardboard backing and close the tabs.
And viola! You have framed your stain removal guide!
Now with the frame I bought, the hanger was not attached to the back of the frame. However, if you noticed in the previous picture, two hangers and 4 screws came with the frame to be attached. All this took was a tiny screwdriver and in my case my sweet husband so I could take pictures. :)
Make sure you screw in the hook at the top of the frame and just double check to put it at the wrong side. This mistake would not be a biggie but just a pain to remove the guide and backing to have to turn it all the other way. Once the hanger has been screwed in, go hang it on a visible spot on in your laundry room! I felt like right beside the washer was the best place for us because that's where I do all the stain removing.
I hope you enjoyed this little, possibly overly easy DIY, and as always, thanks for stopping by!
~Ashley Berry


No comments:
Post a Comment